- REVIEWS
Camera Reviews 
More Reviews Mobile Reviews Photography Reviews - GALLERIES
- VIDEOS
- BUYER'S GUIDES
The Easy Way to Use Lightroom's Powerful Tone Curve Tools (VIDEO)

Last month we took a deep dive into Lightroom's Tone Curves, explaining several advanced techniques. But there are also easier ways that less-experienced users can harness the power of these editing tools as you'll see in the following video tutorial from the popular Signature Edits YouTube channel.
The instructor named Ryan demystifies the process so photographers of all skill levels can get in on the fun and significantly enhance images that need a bit of work to reach their full potential. As he says, "we're going to make it super simple, super basic, and super practical so you can start using the Tone Curve in just about 20 minutes.
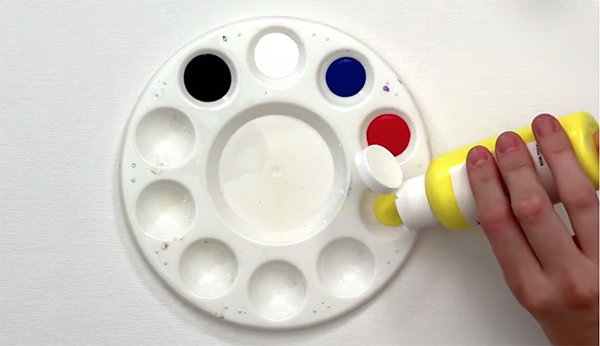
The episode kicks off with a quick overview of how Tone Curves work, and a helpful explanation of the interface. He also discusses the various options available, and why and how to use the different windows in the panel. You'll also gain an understanding of why primary colors in digital imaging differ from those you learned in school as a kid when mixing paints for an art project.
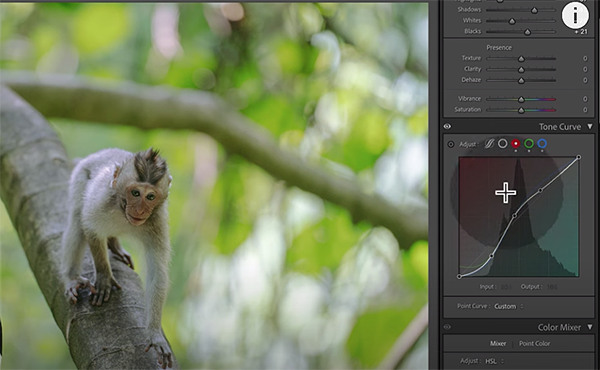
With theory out of the way Ryan turns to specific techniques, and he quickly covers a lot of ground, so you may want to jot downs some notes for future reference. The first topic is an introduction to Lightroom's Point Curves tool, and how to use it to make specific adjustments to different parts of an image. He includes the example of recovering contrast.
Ryan importantly compares the Tone Curve's selective contrast adjustments to global contrast settings, and you'll see how the former is much better approach. That's because you'll give photos much improved balance by limiting corrections to the specific areas that need to be enhanced.
Along the way Ryan provides helpful keyboard shortcuts to speed up the process, along with real life examples that you can download for practice. Other techniques include using red, green, and blue channels for selective color adjustments, employing the common S-Curve for better contrast and colors, and a helpful skin-tone correction for portrait photos.
The lesson concludes with directions for turning Tone Curve adjustments into presets for quick application, and a great recap of everything you learned. We recommend taking a look at the Signature Edits YouTube channel that specializes in lessons that simplify common tasks.
And don't miss the earlier tutorial mentioned above, with a comprehensive primer on everything that the Tone Curve can do.


![]()
Get the Latest Photo Tips, News & Reviews from Shutterbug!
| Camera Reviews Other Reviews | Mobile Reviews Photography Reviews Columns | News | Features | How-To | Resources |
 © 2025 Shutterbug
AVTech Media Americas Inc., USA
All rights reserved