DIY Photo Tips: How to Waterproof a Canvas Camera Bag
Back in the 70’s when I started my photography career as a street photographer/photojournalist we had some pretty hefty equipment. Protecting it from the elements and potential thieves was our main concern. We didn’t have much in the way of small photo bags other than pricey leather ones that protected the gear but screamed: “Take me. I’m expensive!”
Most of us eschewed leather and opted for canvas gas mask bags from we got from local Army Navy stores. These were minimally protective but made us look like cast-off hippies that most thieves wouldn’t consider worth the time to rob. I worked in a camera shop in those days to pay the bills and there I was acquainted with a gentleman by the name of Jim Domke, a photographer for the Philadelphia Inquirer, who also kept his equipment in a canvas bag and his innovative designs went on to become legend.
Recently, I decided to recreate my own old style canvas wax water proofed bag that was reminiscent of the bags we used then with a retro style “update.”
As travel photographers, my wife and I have to pack light. In my opinion, nothing matches canvas for protection and ease of carry. It’s inexpensive and, given the right design, downright cool. If you look at the now de riguer Domke bags and the incredibly expensive Billingham bags, they are just too high-priced and defeat the purpose of a classic bag: unobtrusive and inexpensive while remaining protective.
So I decided to make my own bag based on the “olden days.”
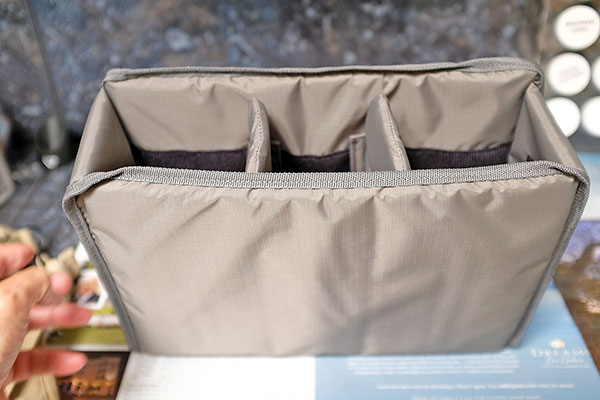
I first went online and bought an old canvas utility bag. Nothing special: just an old military utility bag for 14 bucks. Then I bought a Tenba insert online for $22.
Now came the fun part…waterproofing and giving it the antique look and protective waterproofing. Here is the step-by-step process on how to do the same thing yourself.
First, buy a bag the size you like for your equipment. When my wife and I travel, we carry mirrorless cameras (the Fujifilm X100S) because they are light, exceptionally responsive, and capable of capturing some extraordinary images. We are always looking for photo bags that we can stow under our airline seats to save space. Since my wife and I both shoot, I need a bag that will carry all of our equipment, which translates to two of everything. (Not complaining here; just saying.)
The bags we use must absolutely appear nondescript. Admittedly, the fancy messenger bags are really cool, but the bag I have customized looks worthless to a thief.
I picked up a light canvas bag at an Army Navy store. Be sure to get a bag without leather of any sort because it will be subjected to some heat later on in the process, which will damage the leather. This bag cost about $8.00.
The pièce de résistance is the wax treatment I gave it, which took one evening to apply and really was fun to do.
Here is the easy, albeit messy, method for producing your own waxed canvas bag(s).
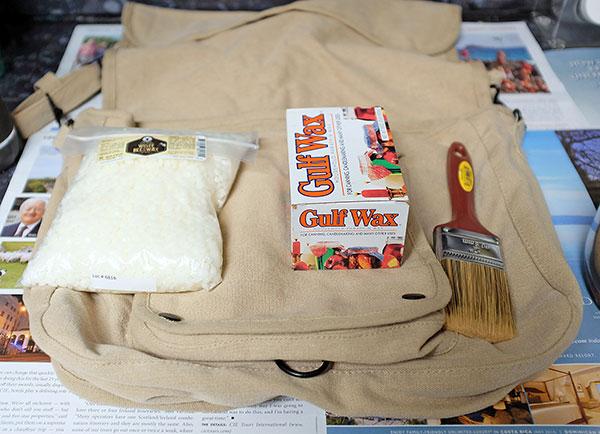
First, procure a brick of paraffin and beeswax. I purchase bleached beeswax because it imparts no color to the bag. Mix equal amounts of beeswax and paraffin. The beeswax is softer and the paraffin gives substance. You can use paraffin alone, but the mixture of 50/50 really works well.
Third, find something you can melt the wax in, preferably, an old coffee tin and NOT something from the kitchen that will result in a divorce. I used an old camping pot we no longer use. Put several layers of newspaper on the work area because it does get messy.
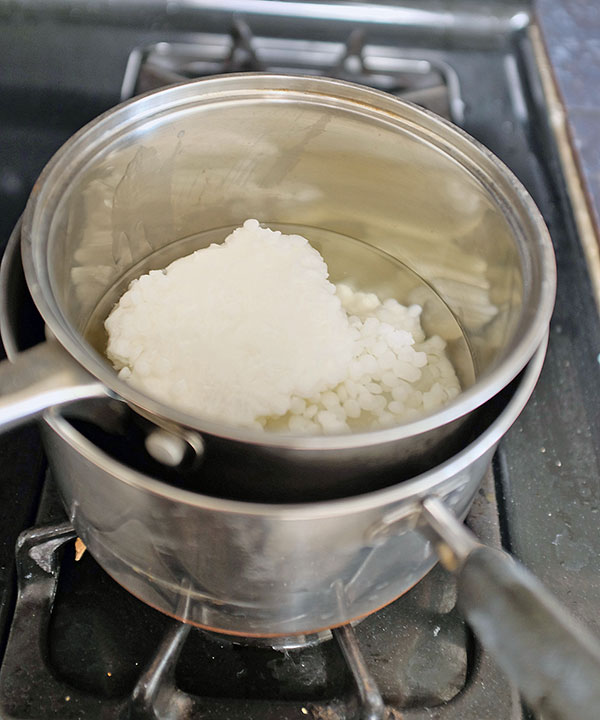
Be very careful with the wax as it is quite hot!
Use a 1-inch or 2-inch brush. I like the 2-inch brush as it allows me to get into the nooks and crannies of the bag yet spread the wax evenly and quickly.
Immerse the tin with half and half paraffin and beeswax in boiling water until the wax is liquefied. Spread this “goo” on every inch of the canvas paying special attention to the seams which will soak up water on the inevitable spots you will lay your bag.
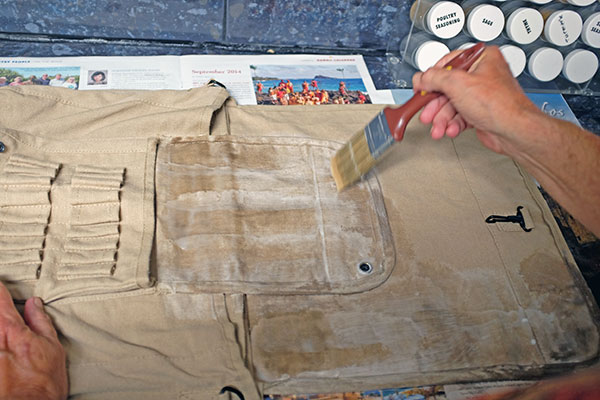
Let the bag dry completely and it will look horrible, at first. This is perfectly natural.
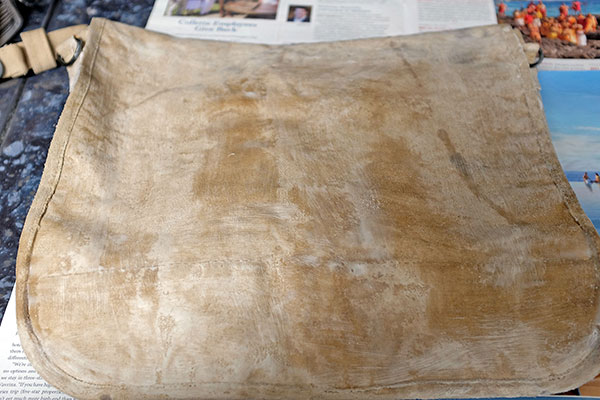
Once dry, put the treated bag in an old pillowcase that has been tied at the opening. We used an old zipper ended pillowcase.
Put the combined bag/pillow case in a clothes dryer on high for about 30 minutes. Some dryers may require more heat or longer.
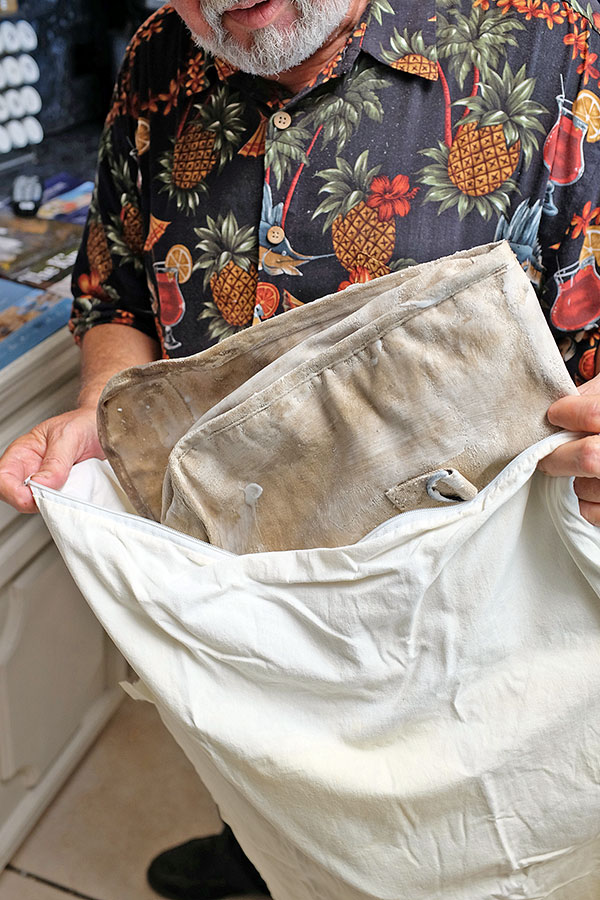
Remove the contents and allow it to cool for a few minutes.
When you open the pillowcase, you will be confronted with a beautifully finished waxed waterproof bag that you might pay several times the amount for in a camera store. It’s functional, waterproof, useable and most of all, beautiful. It will be a bit stiff but after some breaking in will be a bag to be proud of and have a retro look you will take anywhere.
Put in the insert into the bag and voila! You have a custom-made waterproof canvas bag that will make your friends’ mouths water.
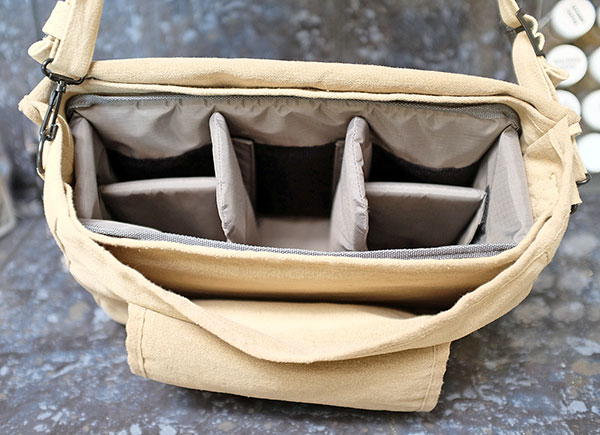
I liked it so much that I decided to treat my old Safroto bag. You know, this waterproofing process can get addicting.
Clean up is relatively easy. Since I was treating another bag, I simply put the wax mixture in the tool space in the garage for the next use.


