- REVIEWS
Camera Reviews 
More Reviews Mobile Reviews Photography Reviews - GALLERIES
- VIDEOS
- BUYER'S GUIDES
B&W Photos With More Dynamic Range: A Surprising Editing Technique (VIDEO)

One key challenge when processing our images is to achieve maximum dynamic range to enhance details in shadows, highlights, and everything in between. This is important with color images and perhaps even more critical when processing b&w photos for maximum impact.
Today's Lightroom tutorial from British photographer Mark A. Hunter addresses this goal in a somewhat surprising way, by explaining how adjusting colors before editing a b&w conversion will provide far more control over dynamic range. Hunter's two sample images in this lesson can be downloaded with a link beneath the video so you can follow along and experiment with the technique as the simple steps are explained.
Hunter covers everything you need to know for mastering this technique to supercharge the look of all types of monochrome images, whether you shoot landscapes, street scenes or architectural photos. He illustrates how this works using a simple graphic with vibrant and diverse colors on a simple blue background.
It all has to do Saturation, and the takeaway is this: "Desaturating a photograph is not the same as black and white. You have to be mindful of the colors you are accentuating or muting while you're doing your black-and-white processing." And this is what Hunter demonstrates how to accomplish as the lesson proceeds.

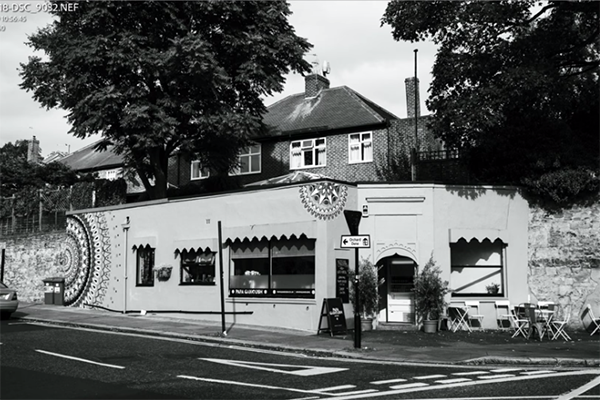
Hunter begins to unravel this mystery by pulling up two demonstration images. He then opens Lightroom's Develop module and goes to work on the first shot— an interesting color photo of a street scene with an orange building that occupies most of the frame. He zooms in on the shot and desaturates it to illustrate how the orange and blue tones mix together—not quite what he wants.
But watch what happens when he resets the image and takes a different approach. Now the b&w example has far more contrast and definition, with none of the previous issues related to similar Luminosity values of adjacent colors
Even though the image is much improved, it's now time for the ultimate approach which involves Saturation adjustments to the original color photo before proceeding to the b&w transformation.
The episode concludes with Hunter walking you through a similar procedure for his second example, and the results he achieves are equally impressive. The instructions he provides are far more detailed than the foregoing summary. When you're done, head over to Hunter's popular YouTube channel where there is much more to learn.
Then, be sure to check out the tutorial we shared recently, explaining how to use a "revolutionary" Lightroom tool to achieve pro-level color tones and balance in nature and wildlife photographs.


![]()
Get the Latest Photo Tips, News & Reviews from Shutterbug!
| Camera Reviews Other Reviews | Mobile Reviews Photography Reviews Columns | News | Features | How-To | Resources |
 © 2025 Shutterbug
AVTech Media Americas Inc., USA
All rights reserved