- REVIEWS
Camera Reviews 
More Reviews Mobile Reviews Photography Reviews - GALLERIES
- VIDEOS
- BUYER'S GUIDES
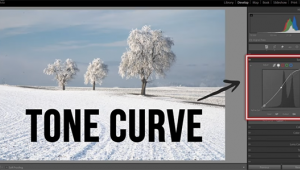
A BETTER Way to Sharpen Landscape Photos Without All the Drawbacks (VIDEO)
Most of us strive to achieve sharp and precise focus in the camera when shooting in the field, yet every so often a bit of editing is required to rehabilitate soft areas within a shot. But here's the catch: sometimes the conventional approach can do more damage than good.
Today's enlightening tutorial from one of favorite landscape photographers reveals the unique method he prefers when sharpening in Lightroom is required, and it likely differs from the approach you’ve been using for years. It's not difficult to do and delivers clean, realistic results without overly "crispy" photos spoiled by image-killing artifacts.
Instructor Christian Irmler is an accomplished German landscape photographer who regularly posts straightforward tutorials that reveal the secrets to his success. In this episode he describes what he refers to as "bad sharpness," reveals the "truth" about contrast, and provides examples of how the method you employ can either spoil the mood of an image of give it a big boost.
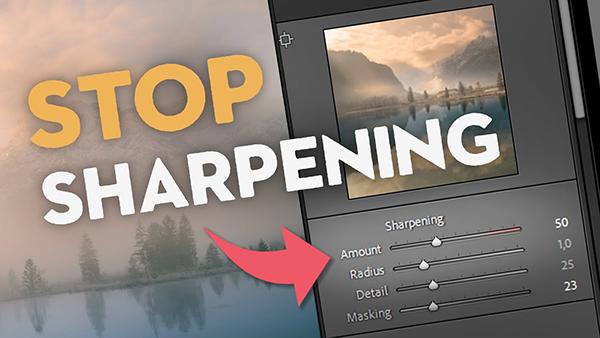
Irmler also reveals a few exceptions to his approach and discusses why "extreme sharpness" is sometimes required instead of the more subtle method he typically employs. He begins with an explanation of what he refers to as "bad sharpness" that often occurs when relying solely upon sliders in Lightroom sharpening panel.
You'll also see why images shot in the Raw file format are much easier to correct without killing the mood in an image. He illustrates why the common approach of increasing Clarity, Contrast and Sharpness can be detrimental to overall image quality—noting that there's a "much better way" to get the job done to perfection.
Interestingly, Irmler says, "I don't touch the sharpening slider at all and I don't want overall Contrast and Clarity throughout an entire scene." Instead, he makes selective adjustments to only those areas within the frame that really need help. As you'll see, this method helps draw a viewer's attention to the key components of the image.

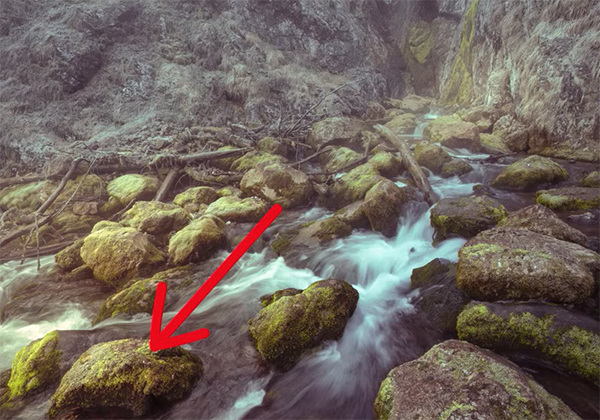
Irmler's straightforward alternative technique involves a precisely positioned Linear Gradient to quickly make the appropriate modifications. In the case of his first demonstration photo this means placing the gradient mask over the foreground of the shot and then carefully limiting his Sharpening, Contrast and Clarity adjustments to this portion of the frame. He explains how he does so in a way that that "supports the effects already made by nature."
You'll watch Irmler use this technique to sharpen other images that require a slightly different approach. Sometimes, as you'll see, more than one mask is required for an ideal transformation. Admittedly, this method takes a bit more time than just moving a slider to the right, but this is the way to go if great results are your goal.
After watching this very helpful lesson head over to Irmler's instructional YouTube channel where there's much more to learn.
And don't miss the tutorial we posted recently from another top pro, explaining the proper way to use a polarizing filter to shoot landscape photos that demand attention.
- Log in or register to post comments


![]()
Get the Latest Photo Tips, News & Reviews from Shutterbug!
| Camera Reviews Other Reviews | Mobile Reviews Photography Reviews Columns | News | Features | How-To | Resources |
 © 2025 Shutterbug
AVTech Media Americas Inc., USA
All rights reserved