- REVIEWS
Camera Reviews 
More Reviews Mobile Reviews Photography Reviews - GALLERIES
- VIDEOS
- BUYER'S GUIDES
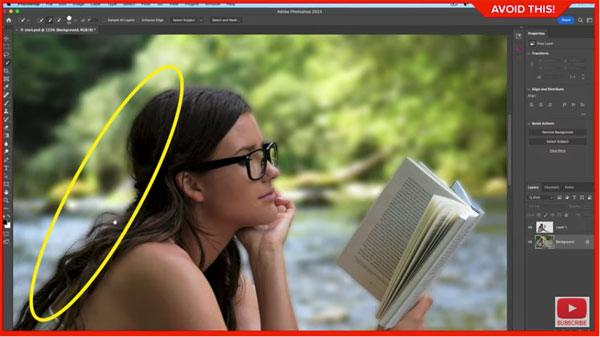
The BEST Way to Blur Backgrounds with Photoshop (VIDEO)

Creating soft, blurry backgrounds is a popular technique for making subjects stand out from their surroundings. It’s also useful for eliminating clutter, and directing a viewer’s eye to the most important element of a scene.
This task can be accomplished in the camera with the right lens, proper settings, and good technique. Today’s quick tutorial demonstrates how to mimic the effect during the editing process when you didn’t quite get things right in the field.
This episode from Photoshop Café also relates to creating out-of-focus “bokeh” effects, a look many photographers seek. In barely six minutes you’ll learn how the get the job done while avoiding common pitfalls.

Instructor Colin Smith is an expert at all things Adobe, and his goal here is to help you “take an exiting photograph and create more separation between foreground and background.” Trust us, by following this advice your photos will have significantly more impact.
This straightforward method involves three simple steps; the first of which is what Smith calls “isolating your subject.” This involves a trip to the toolbar and selecting one of the three “magic” options—either the Magic Wand, Quick Selection, or Object Selection tools will work.
As soon as you do this, a Select Subject box appears atop the screen. But before you click the button be sure to select the Cloud option that Smith says delivers optimum results. Then Photoshop’s AI makes the selection, and there are ways to do a bit of cleanup if necessary.
Next Smith explains how to avoid a common mistake before applying the blur. Here the goal is preventing ugly halos around your subject. As you’ll see, the solution is “preparing the background properly” in the manner Smith recommends.
Now you’re ready to apply the blur and finish up the edit. Smith demonstrates the correct way to do this with precision. If you’ve been doing it wrong, wipe that approach from your mind.
There are many more editing tricks on Smith’s instructional YouTube channel. So be sure to pay a visit the next time you’re in a bind.
And check out the tutorial we posted recently, explaining why another expert recommends using the Vibrance tool instead of Saturation to adjust colors in your photos.


![]()
Get the Latest Photo Tips, News & Reviews from Shutterbug!
| Camera Reviews Other Reviews | Mobile Reviews Photography Reviews Columns | News | Features | How-To | Resources |
 © 2025 Shutterbug
AVTech Media Americas Inc., USA
All rights reserved