- REVIEWS
Camera Reviews 
More Reviews Mobile Reviews Photography Reviews - GALLERIES
- VIDEOS
- BUYER'S GUIDES
The Basics of Editing Sultry Portrait Photos in Photoshop (VIDEO)
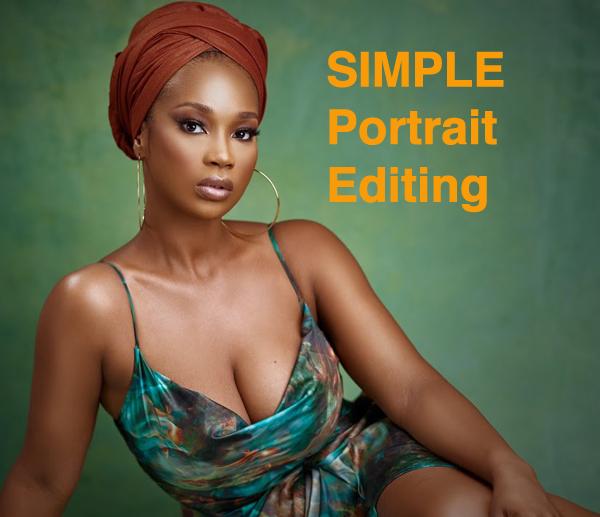
Everyone who shoots portrait photographs knows all too well that getting the shot is only half the battle. Proper image editing is also very important for optimum results, and today’s Photoshop tutorial demonstrates how to get the job done without any complicated techniques.
Nigerian Pro Prince Meyson has developed an easy but very effective method for taking your portrait editing to the next level, and he demonstrates it here from start to finish. As Meyson says, “This a very simple full retouching tutorial that anyone can follow at home.”
Meyson begins with adjusting exposure, taking care to avoid overexposing his model’s face. Then he opens up the shadows a bit for an even, balanced look, while faithfully rendering skin tones in much the same way a makeup artist would do.
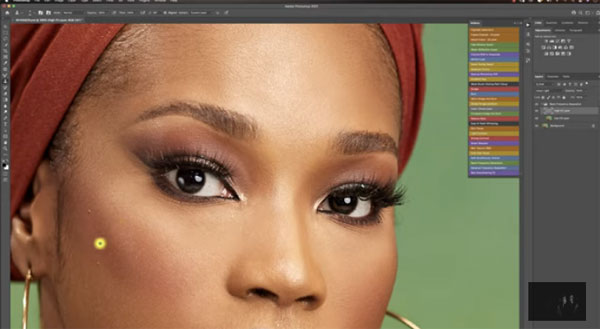
Next Meyson creates a Frequency Separation action, while explaining all the appropriate settings. Here he uses Photoshop’s Clone Stamp and Mixer Brush tools to quickly remove a few of his beautiful model’s blemishes.
Admitting he’s a perfectionist, Meyson gets rid of some very subtle textures from the model’s skin. He then runs a quick global dodge-and-burn action while revealing his recommended settings for brush selection and flow.

As he explains, the approach he takes here has to do with his model’s glowing “chocolate skin” but he notes what to do with lighter-skinned subjects. At this point, most of us would be extremely satisfied with the beautiful shot, but Meyson demonstrates a few other enhancements to make the image look perfect.
After watching the video, head over to Meyson’s YouTube channel for more advice on shooting and editing portraits. And don’t miss our earlier tutorial, explaining how to customize your Photoshop workspace for faster, more effective processing


![]()
Get the Latest Photo Tips, News & Reviews from Shutterbug!
| Camera Reviews Other Reviews | Mobile Reviews Photography Reviews Columns | News | Features | How-To | Resources |
 © 2025 Shutterbug
AVTech Media Americas Inc., USA
All rights reserved