- REVIEWS
Camera Reviews 
More Reviews Mobile Reviews Photography Reviews - GALLERIES
- VIDEOS
- BUYER'S GUIDES
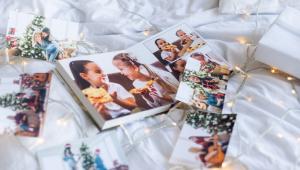
6 Essential Tips to Get Perfect Print

Digital photography has the benefit of being an instantaneous medium, giving you real-time feedback and that wonderful little dopamine hit that comes with having your creations literally at the touch of your fingers.
Despite the instantaneous access that digital photography provides, it lacks permanence and the ability to admire your work truly.
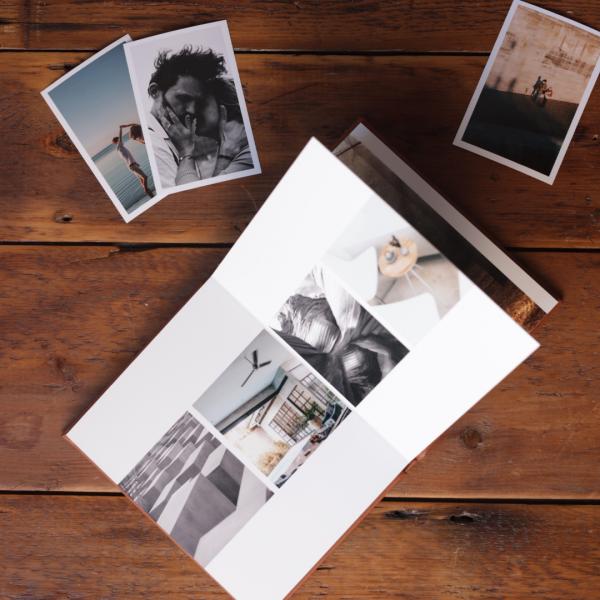
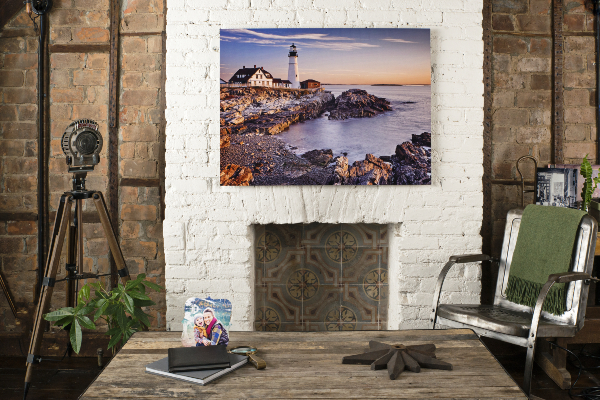
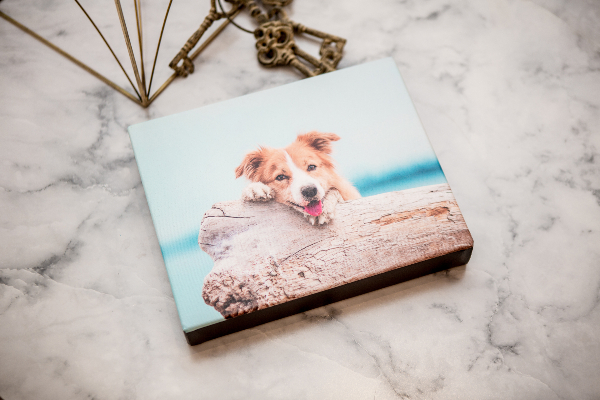
Turning your photos into artwork as a high-quality wall print, a custom leather-bound photo book, or a massive metallic wall hanging is a great way to really showcase photography and make it stand out from the swipe, swipe, swipe world of mobile photography.
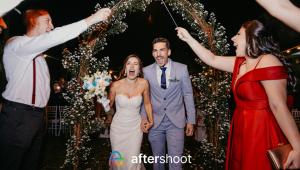
When turning my images into printed artwork, I turn to Printique, thanks to its award-winning output and the ability to make any printed work I need for my own use and clients.
I take 6 steps to get my images ready for output, and these are the same for my pro-level digital cameras and my smartphone. Following these steps will help you get the best of your images, whether from Printique or your own photo printer.
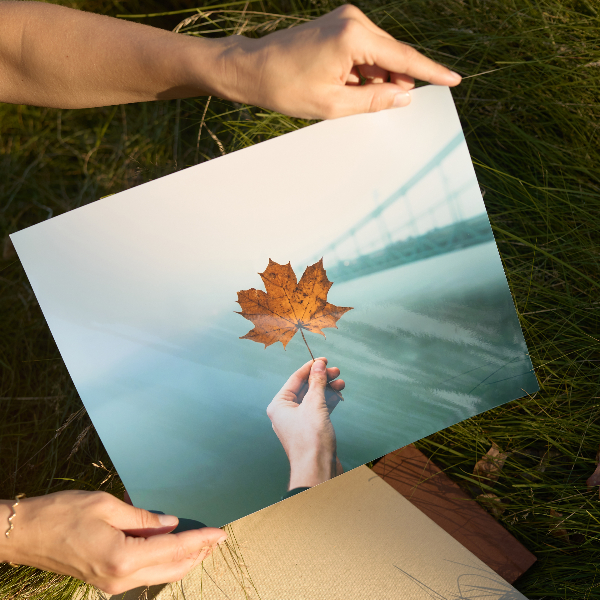
Composition
Creating a beautiful wall hanging or book is great, but the output is only as good as the input.
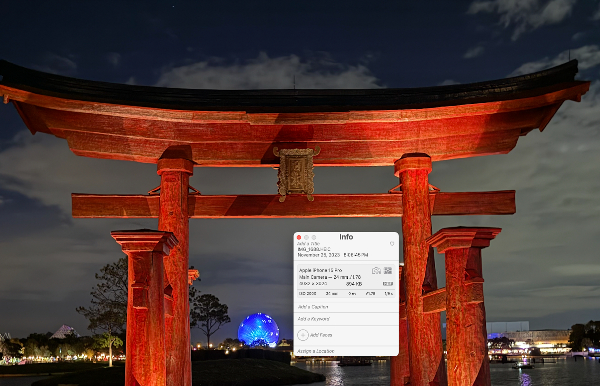
Before uploading an image to Printique, take a look at your images and try to find obvious problems with it.
Does your landscape photo have a powerline running through it? Does your portrait have a telephone pole behind someone’s head?
Often, an image must be cropped to eliminate distracting elements in the background.
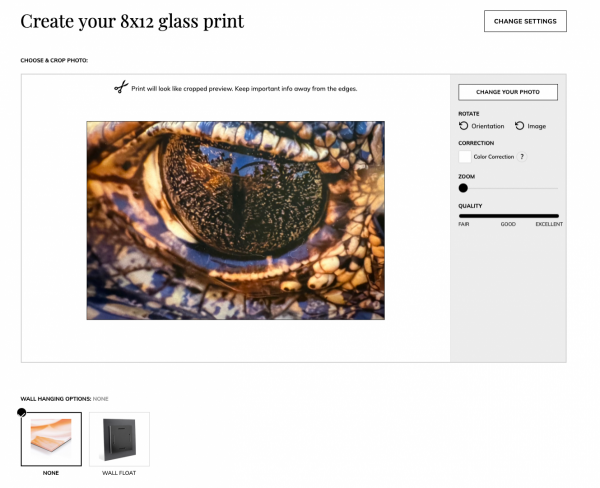
Even if you don’t need to crop your photo to remove distracting elements, you may still need to crop it to fit your chosen output.
A 40x60 metal print has a different crop than a 12x12 glass print, and neither of these has the same ratio of length to width as a traditional photo, so you’ll have to do some cropping based on your chosen output.
 Image cropped to 4x6
 Image cropped to 12x12
It is easy to evaluate these by uploading my photo to Printique and seeing how it looks on their layout tool.
Size, Resolution
Any modern smartphone (any model from the last five years) produces images that are, at least at a small size, visually on par with traditional cameras. However, not all images look good when making a massive meal print or even a small photo print.
There are two key factors in the quality needed for output: the image’s resolution (the number of pixels of the sensor) and the resolution needed for a print.
Resolution is a bit misleading, as a 24mp smartphone image doesn’t really have as much information as a 24mp photo from a full-frame camera, but that’s a topic for another article.
When preparing an image for output, it’s important to ensure the original image's size is high enough to print.
You’ll need a higher resolution image (more megapixels) to create a 40x60 metal print at Printique than a 5x7 image. Print with too small of an image for the output, and you’ll get grainy images that look blurry.
With the wide-angle cameras in most smartphones, it’s common to crop into a subject, but the result is a lower-resolution image.
Imagine you have a grid of silver dollar coins instead of pixels, and they’re in a grid of 10x10. That grid has 100 dollars. Cropping is like taking away some of the grid, so if you crop to just the shiniest coins and end up with a grip of 5x5, now that grid has a “resolution” of 25 dollars.
The lesson here is that if you create output, you need the right resolution, and if you’re cropping, you need to start with a higher resolution to end up with enough left for the print.
How can you tell if you’ve got enough resolution? I like to use the automated tools on Printique. I simply upload the photo I’d like to print and let the website tell me if I need a higher-resolution image.
----------------------------------
Additional Resources
+ How to Transform a 12MP Photo into a 50MP Monster in Lightroom (VIDEO)
-------------------------------
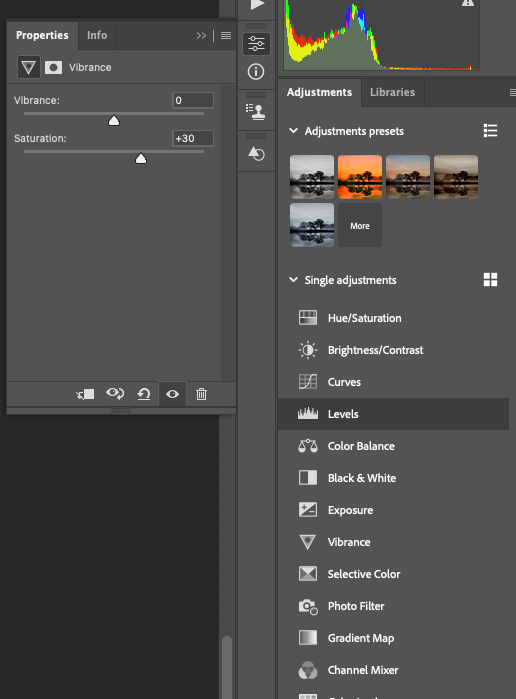
Image Adjustment
A smartphone or computer screen and a printed piece of art have two very different ways to display your image. A screen uses illuminated pixels, while printing uses ink placed on the surface of the output.
The images on a screen look brighter and more vivid than they will on paper. It’s a good idea to adjust your images based on this difference to deal with this.
Increasing the exposure and saturation is a good start, as the increased saturation will help [p make the printed piece look more like the photo on your screen.
Screens are also very sharp because of the sheer number of pixels on a display, and they create an image with a lot of detail at the edges.
Printing is a process of laying down ink or pigment, and it’s not as sharp as what you see on screen because ink or pigment flows together in a way that pixels on a screen do not.
It’s common practice to sharpen a photo before sending it to somewhere like Printique, as a little sharpness boost can compensate for some of the effects of printing.
----------------------------------
Additional Resources
+ Photo Basics: Understanding Image Sharpness and How to Use It for Better Photographs (VIDEO)
+ Want Maximum SHARPNESS in Every Photo You Shoot? Here’s How (VIDEO)
+ PERCEIVED SHARPNESS: Why Sharp Photos Look Soft & an In-Camera Fix or an Edit (VIDEO)
-------------------------------
All photo editing programs offer sharpening, and some of them have a “sharpen for output” setting that provides sharpness only during export.
File Preparation
There are dozens of formats used in digital photography, and to upload to sites like Printique, you need first to output your file in a way that the site can read that file.
Digital Cameras, and even some phones, capture images in a high-end format called raw. Raw isn’t technically a format; it’s how the cameras can record the most information from the sensor without adjusting colors or sharpness.
Raw files can’t be used for printed output as they’re just, as the name suggests, raw information from the sensor.
The iPhone can now shoot in raw and joins several cameras that can shoot in a new format called HEIF (alternately HEIC). These file formats contain more color information than a JPEG and just slightly less than a raw file.
These formats can be considered just like raw; they need some adjustments before sending them for output.
The most common file formats for upload are JPEG, TIFF, and PNG. Both TIFF and PNG are lossless formats, meaning there is no compression on the file to reduce the image size. These are good choices for sites like Printique because a JPEG is compressed, throwing out some image quality to make the file smaller.
If you’re using JPEG for your output, be sure to use the least compression possible. The output dialog box usually has a slider that says “compression” or “quality.” Ensure your file is output with the highest quality (lowest compression).
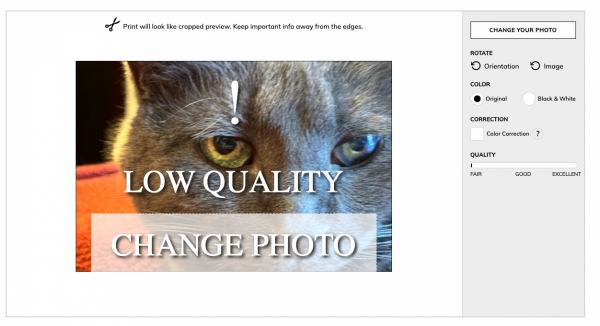
Image Preparation
For images that aren’t quite perfect, many turn to noise reduction and upscaling. Noise reduction takes a grainy photo due to low light and reduces some of the graininess. Upscaling takes a low-resolution photo and makes it more suitable for output.
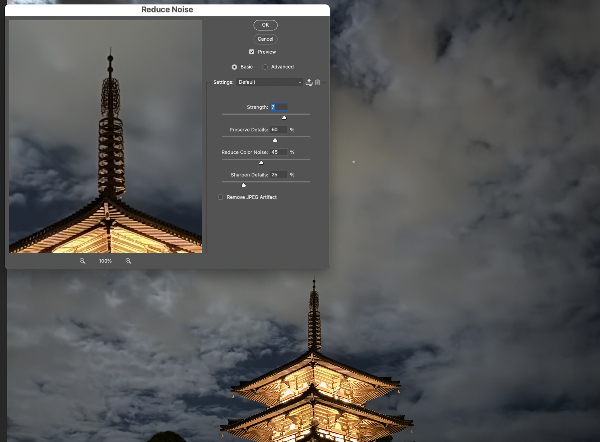
Software to reduce noise and upsample images is improving constantly, but remember, it’s always a last resort. It’s better to get the image in the camera (or on the phone) in the first place.
----------------------------------
Additional Resources
+ What’s the BEST Way to Upscale Photos for Print Quality? (VIDEO)
----------------------------------
Image Layout
This is the easiest part of the print ordering process. The best place to start is to crop your image in your photo editor to match the aspect ratio (the length and the width) of your image.
Almost all cameras capture images in an aspect ratio of 3:2. In inches, this would mean that a photo has a width that’s one inch longer than the height. Since this is a ratio, 3:2 is the same as 6:4, so an uncropped image from a camera fits on a 4x6 piece of photo paper with no crop.
An 8x10 photo print has a length that’s two inches longer than the height. If you put a 3:2 image on an 8x10 canvas, you must do some cropping.
All photo editing programs have a crop tool, and you can enter your final output size to see how photos will look when printed. If you’re printing 8x10, simply set the length of the crop to 10 and the height to 8, and the program will make a box at this dimension. Scale this box as large as it can go by dragging the edges, and you’ll see the size.
Many photo editing tools have common sizes (4x6, 5x7, 8x10, etc.) as choices.
But my favorite way to check the layout of my photos is to upload them to Printique and see what the crop looks like in my selected format.

With a little bit of work, it’s possible (and easy) to go from camera to cherished wall hanging or photo book and show your images off in a way that people will appreciate far more than on your social media account. With Printique, it’s easy to take those images and make them into spectacular pieces of art.
- Log in or register to post comments


![]()
Get the Latest Photo Tips, News & Reviews from Shutterbug!
| Camera Reviews Other Reviews | Mobile Reviews Photography Reviews Columns | News | Features | How-To | Resources |
 © 2025 Shutterbug
AVTech Media Americas Inc., USA
All rights reserved