- REVIEWS
Camera Reviews 
More Reviews Mobile Reviews Photography Reviews - GALLERIES
- VIDEOS
- BUYER'S GUIDES
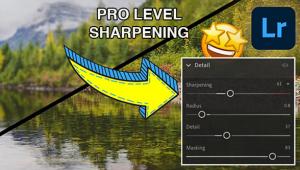
How to Use “Lightroom’s Most Powerful Color Grading Tool” for Travel & Nature Photos (VIDEO)
When one of our favorite travel and nature photographers describes what he says is “Lightroom’s Most Powerful color grading tool,” it’s time to pay attention. And in the tutorial below, you’ll learn how easy it is to use.
Christian Mohrle in a German pro who’s not only a great photographer but also a very popular instructor. In this 11-minute episode he demonstrates everything you need to know about using Lightroom’s Split Toning tool to enhance all sorts of outdoor images.
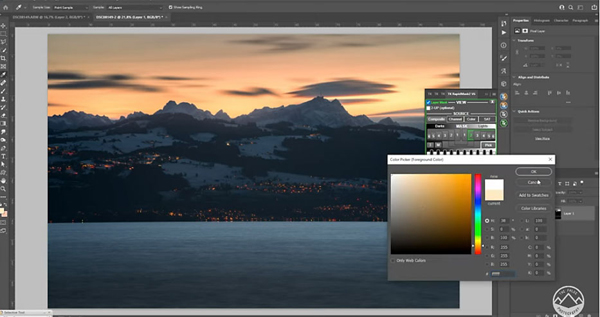
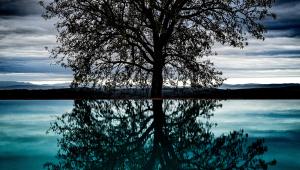
Mohrle’s goal with this video is to transform a blue-hour landscape shot into a vibrant image with warm sunset colors. He uses Lightroom’s Split Toning tool to get the job done, and then turns to Photoshop to quickly clean up a few sensor spots and give the image a bit more glow.
He begins by changing the camera Profile to Adobe Landscape for enhanced saturation, and then makes several basic global adjustments before tuning to Split Toning. These include adjusting White Balance for more warmth, dropping the highlights to bring out more detail in the sky, and reducing shadows and increasing whites to boost contrast.
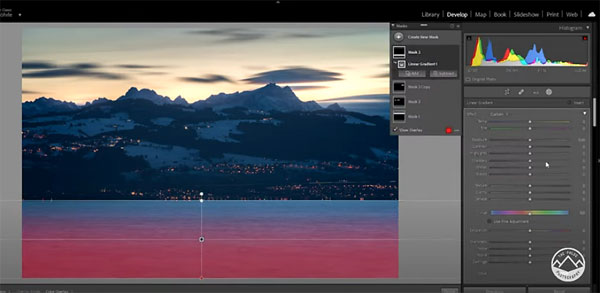
Once the base image is set, Mohrle turns to local adjustments, using both linear and radial gradients to enhance the sky, add glow, slightly darken the foreground, and adjust color temperature in specific portions of the scene.
Now the image is ready for Mohrle’s split Toning technique, and he explains exactly how it’s done. He uses Lightroom’s HSL panel to increase red, orange, and yellow saturation, while reducing blue saturation. The dramatic transformation includes modifying color tones in the highlights, midtones, and shadows.
Take a look at the before-and-after images and we’ll think you’ll agree that the results are outstanding.
You can find more great landscape tips on Mohrle’s YouTube channel and in a tutorial we posted earlier, explaining how to shoot beautiful long-exposure landscape photos in just four minutes.
- Log in or register to post comments


![]()
Get the Latest Photo Tips, News & Reviews from Shutterbug!
| Camera Reviews Other Reviews | Mobile Reviews Photography Reviews Columns | News | Features | How-To | Resources |
 © 2024 Shutterbug
AVTech Media Americas Inc., USA
All rights reserved