- REVIEWS
Camera Reviews 
More Reviews Mobile Reviews Photography Reviews - GALLERIES
- VIDEOS
- BUYER'S GUIDES
How to Harness the Power of Lightroom’s New Mask Overlays (VIDEO)
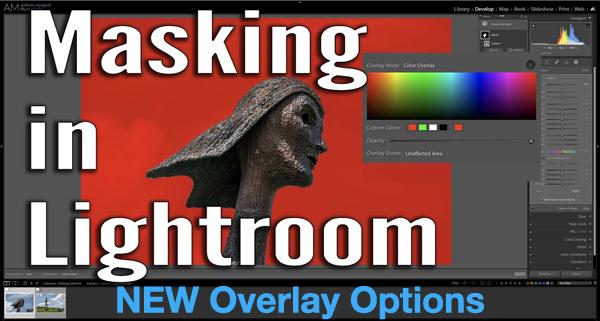
Masking is a powerful and important technique if you want to get the best results possible when editing your images. And whether you’re a novice or a more advanced user, the video below will help you better understand and use all the various overlay options in Lightroom’s new Masking panel.
Anthony Morganti is one of Shutterbug’s most popular image-editing instructors, and in today’s nine-minute episode he explains how Lightroom’s masking capabilities have recently evolved and are now easier to use and more effective than ever
As Morganti notes, “In older versions of Lightroom we didn’t have anything called masking. Instead, there were local adjustments, the Radial Filter, and the Brush.” He further explains that while these local adjustment tools did have overlays, they were very rudimentary and didn’t offer much control.
Well, things have really changed. Or as Morganti says, “With Lightroom’s new masking capabilities, there is now “a whole new overlay system that includes a lot of functionality.” And that is what he discusses in today’s nine-minute episode.
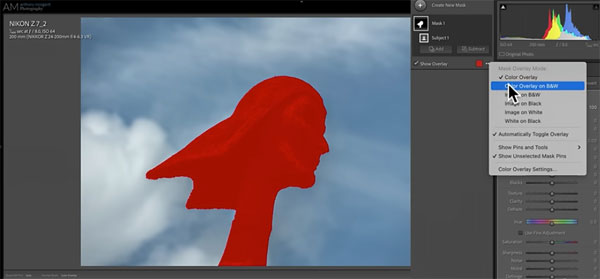
Morganti demonstrates all the new functionality while working on the head of a tall sculpture. He navigates to the Masking panel and selects the Subject Mask option to get started. By default he’s presented with a red overlay—the same basic overlay that’s been in Lightroom forever.

What’s new in the Latest version of Lightroom is that you can now select from several other overlay options for quickly obtaining great edits when working on both color and b&w photos.
Follow along, and see how easy it is to employ these powerful features for accomplishing a variety of important tasks. Then head over to Morganti’s instructional YouTube channel for more helpful tips and tricks.
We suggest you also take a look at the tutorial we posted from another expert recently, explaining why he says, “Split Toning is Lightroom’s best color grading tool.”
- Log in or register to post comments


![]()
Get the Latest Photo Tips, News & Reviews from Shutterbug!
| Camera Reviews Other Reviews | Mobile Reviews Photography Reviews Columns | News | Features | How-To | Resources |
 © 2024 Shutterbug
AVTech Media Americas Inc., USA
All rights reserved